
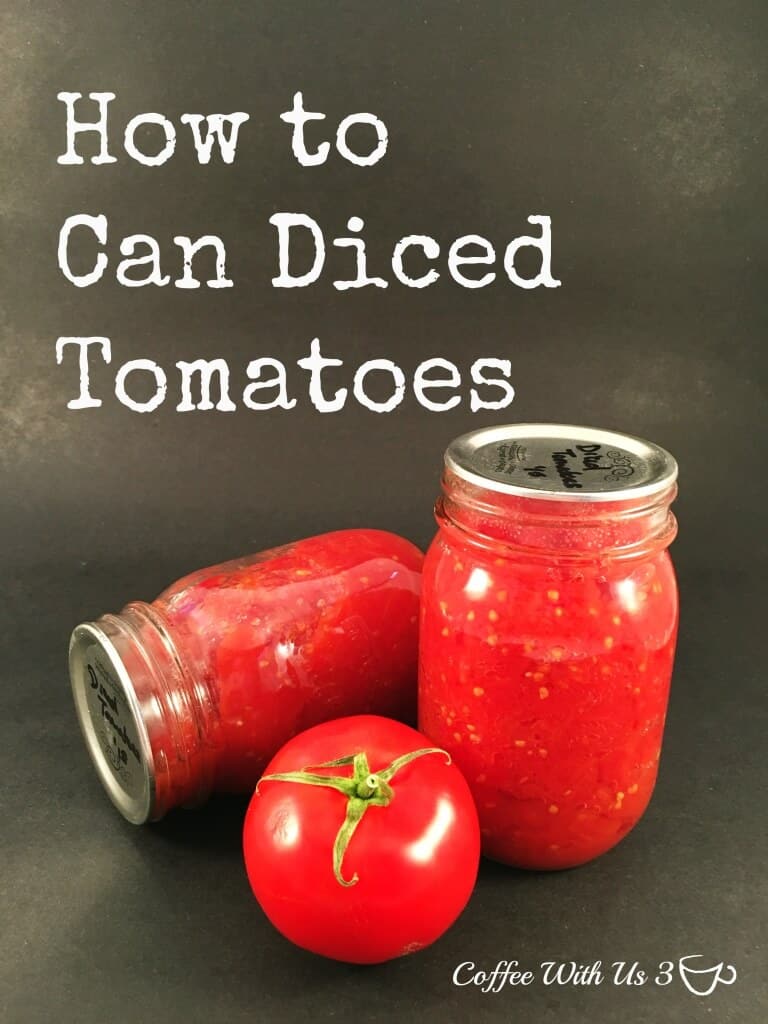
How to Can Diced Tomatoes
How to Can Diced Tomatoes from beginning to end. Canning tomatoes is a great way preserve your garden to use through the winter and spring.
Last year I had 24 tomato plants in the garden. I wanted a lot of tomatoes to can. And I sure got that. We canned tomatoes for weeks. I also made tomato sauce, tomato paste, spaghetti sauce, and salsa.
We had tomatoes coming out our ears. At the end of the season, I picked all the green tomatoes to let them ripen. I had a wheelbarrow full of green tomatoes.
This year I only planted 14. The Hardworking Husband said 24 was just too many. So I cut back a bit. But I'm sure I'm going to have enough to can again this year.
It has been really nice to have jars of tomatoes from my garden to use all winter and spring. So I wanted to share with you how to can diced tomatoes and you can have them from your garden too.
Supplies you need:
Large pot
Water bath pot
small pot
Ice
Knife
Large bowl
Clean & sterile jars
New jar lids
Jar rings
Jar lifter
Funnel
Ingredients
Tomatoes (you can do as many or as little as you want)
Salt
Lemon Juice
Instructions:
1. Fill your sink or large bowl/pot with ice water. You will use this to cool the tomatoes after you have blanched them. Keep ice on hand as the hot tomatoes will warm up the water.
2. Fill the large pot with water and bring to a boil.
3. Fill water bath pot to about ¼ full. And bring up to a boil while doing steps 4 - 7.
4. Place a few tomatoes at a time in the large pot with boiling water depending on the size of the pot. You don't want to over fill it and bring the temp of the water down. Let the tomatoes stay in the pot for about a minute. You don't want to cook them. You will get a feel for how long they need to stay in there once you start peeling.
5. Remove tomatoes from pot, place them in the ice water. Add more tomatoes to the pot of hot water. Keep going with this until you have blanched all your tomatoes.
6. While waiting on tomatoes to blanch and cool, you can begin peeling. Once tomatoes have cooled, use a knife to peel away the skin from the tomato. It should come off easily. If it doesn't, allow the next batch in the hot water to remain in there a little longer (but not much). At this point, you can seed the tomatoes as well. I don't do this because I'm fine with seeds in my diced tomatoes. But if you don't want them, cut the tomatoes in half and pull out the seeds.
7. Dice tomatoes and place in a large bowl. Once you have finish steps 4-7 for all the tomatoes move on to step 8.
8. In a small pan, add water and lids. Heat over medium heat. You don't want to boil these. The lids now do not have bpa in them and boiling water will break down then sealant on the lid and it won't seal as well.
9. Fill each jar with the diced tomatoes leaving ½" headspace. Add 1 tablespoon lemon juice per pint (2 tablespoon for quart) and ½ teaspoon salt per pint (1 teaspoon for quart). I like to use a funnel when filling my jars.
10. Wipe off the rim of the jar and place lid and ring on. Hand tighten. Place in the water bath pot. Continue until the water bath is full. The water should be about an inch over the jars once they are all in. Bring back to a boil and process for 35 minutes if you live below 1,000 ft, 40 minutes for 1,000 - 3,000, 45 minutes for 3,001 to 6,000, and 50 minutes for 6,001+ for pints.
11. Remove jars using a jar lifter and place on a towel on the counter or table. Allow to sit for at least 12 hours. Do not check the lids for sealing until the jars have cooled completely. Touching the top could artificially seal it and cause problems later. Jars often pop when sealing, but not always.
12. Once jars have cooled completely, run your finger over the top to feel for a divot. If the center of the lid pushes up and down, it is not sealed. You can either put it in your fridge to use soon, or you can remove the tomatoes, put in a fresh clean & sterile jar and process again.
13. After all jars have sealed, remove rings and store. Leaving the rings on can also cause an artificial sealing. When using the tomatoes later, be sure to check the seal once more. If the center of the lid moves up and down, do not use the tomatoes
Let's talk a moment about clean & sterile jars. There are a couple ways to accomplish this.
- Wash the jars, place them in a large pan of water on the stove and boil them. Pull out one jar at a time as you use it.
- Run the jars through the dishwasher with a heat dry cycle. Pull one jar out at a time as you use them. Make sure to shut the dishwasher door quickly to keep jars warm.
I prefer method 2 because my stove is not very big and I already have 3 other pans on the stove.
Looking for recipes to use your diced tomatoes?

Why not join us on Pinterest: Coffee With Us 3 or hangout with us on Facebook:
Check out our link parties.
Linking up to Menu Plan Monday and Weekend Potluck.
Don't forget to pin!


3 Comments