
15 Minute Cork Board Makeover
Update that drab and boring cork board in just 15 minutes, with this awesome cork board makeover tutorial!

Now that we're homeschooling preschool, I'm finding that I need more organizational skills in my life. I have been hoping to make a cool command center for our kitchen like what I've seen on Pinterst, but we've just been too busy and unmotivated lately. So, since I needed something fast, I decided to do a cork board makeover.
This cork board makeover took me 15 minutes- and that's with me stopping to take pictures, so it's easily doable in 10 minutes.
What you'll need for a cork board makeover:
- Ugly corkboard
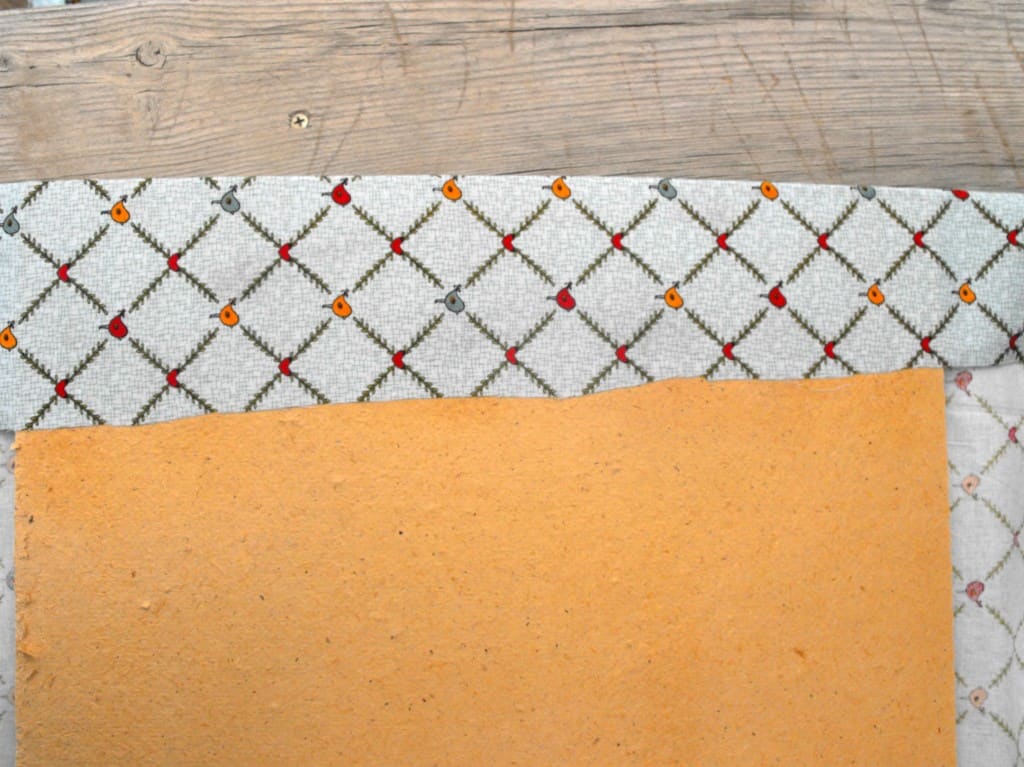
- Enough fabric to cover, in a pattern that you like
- Spray adhesive

To get a cork board, try checking at thrift stores or yard sales. New ones are expensive, despite the fact that they are made pretty cheaply (at least the ones I looked at are). Or even put a shout out on facebook, and you may be surprised to find that someone had one sitting around that they weren't using.
Start by taking the frame off your ugly cork board. Mine was so cheap and cheesy that I just pulled it apart with my hands- didn't even need any tools to get it off.
 Make sure your fabric is a few inches bigger than your cork board on each side. Then spray the corkboard with spray adhesive. I used a re-positionable adhesive spray, so that I could move the fabric and get wrinkles out.
Lay your fabric on top of the board, and try to pull it tight, smoothing out any wrinkles. See that wrinkle? I wouldn't want it like that permanently.

Turn the cork board and fabric over. Now spray along one side a couple inches in. Pull the fabric tightly over the edge and onto the back of the board. Do the same for the opposite edge.
 To get good corners, push down the fabric in the corner first.
 Now fold the fabric diagonally, pulling it tight to the board along the edge. If that doesn't make sense, look at the picture, and hopefully it will help. It's kind of like wrapping a present. Once you've done that, spray adhesive along the edge of the cork board in a couple inches and pull the fabric over to the back.

You should end up with a much prettier cork board after this 15 minute makeover. If you see wrinkles or anything that doesn't look right, the re-positionable adhesive spray won't be permanent for a few minutes, so you can pull the fabric up and smooth things out as long as you do it within a few minutes.
Are there things in your house that you've redone? Do you use a cork board, or do you have an amazing command center to share? I'd love to see it!
 Follow us on Pinterest at Coffee With Us 3
Check out our link parties here.

Really great idea and the fabric is very cute!
Gosia | Kiddie Foodies
That came out great! I really love that fabric you chose!
Thanks Karen! I was lucky enough to find it on clearance at Joann's fabric!